How I built my first jekyll website!
27 Mar 2020
It was not my first one, I have screwed up 5 or 6 before I finished this one.
I have been learning web development for a few months now, but I had not build anything, one big obstacle was that I wanted it to be deployed and that others could visit it.
I started because I wanted three things:
- A bilingual web dictionary for the Boruca language.
- A resume website that I could display to my employers.
- A blog, a place to write my self-learning guides.
While I was starting and reading about hosting my own site, I discovered Jekyll, I already had GitHub, and when I realized I could join the two and create a blog, actually I could have my three wishes.
So, What is Jekyll?
In a few words, is a program that takes markup language (HTML5 & Markdown) and uses "layouts" to create a website.
So, this is what makes blogging with Jekyll and GitHub Pages so easy, if you know or learn Markdown (which takes 10 minutes) you can begin creating content in no time.
You do need to install a Ruby development environment and then Jekyll, but not much to it than to type the commands, you can check the guide here: Jekyll Installation. Anyway, don't concern too much, by when you finish this guide you'll understand Jekyll's role here.
I will stop here to say this: "Develop your technical sophistication!".
What I knew before Jekyll
I had studied HTML5 and CSS3, just the basics, maybe did a couple of example websites, but I am not expert. I also found Bootstrap, and that made website building a lot easier. I knew a few lines of Git, so I knew how to "commit" my work to GitHub. I am also playing a bit with JavaScript, but so far nothing fancy, I do use it in the Boruca Dictionary I made.
I think that if you study HTML, CSS and Bootstrap for a week, you can start blogging on the weekend. But to make that easier, I am sharing this guide with you.
GitHub
If you are reading this, you most likely already have an email account; so, use it to get a GitHub account. We'll use GitHub to store our website files, also known as "host our website" for free, yes, FREE. GitHub is also where we'll get the website domain name: github.io. Also for FREE.
Again, don't worry too much here, just sign up.
jekyll new myblog
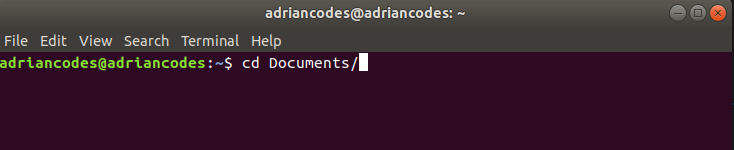
Open the Terminal and navigate to where you wish to store the project by typing $ cd Documents/
To create the project folder, type: $ jekyll new blogname; where blogname is whatever you
wish to name you blog.
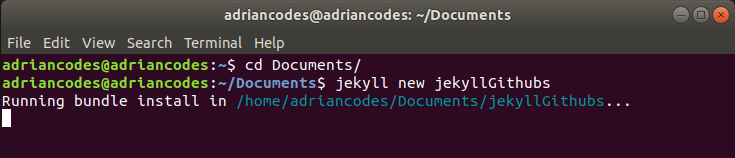
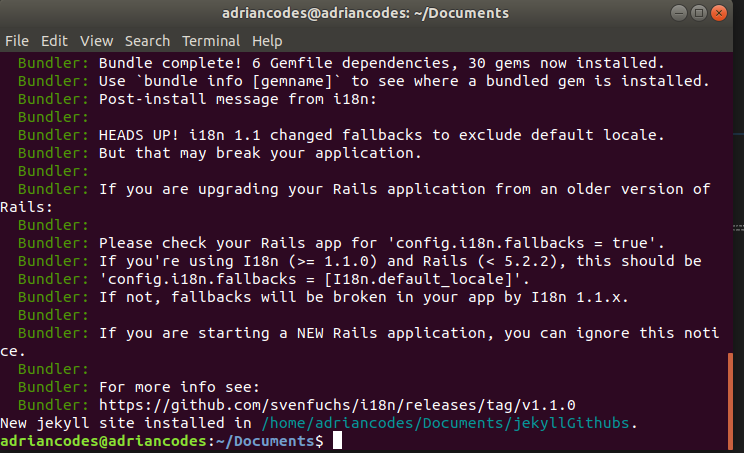
You'll get a confirmation saying: New jekyll site installed in ...
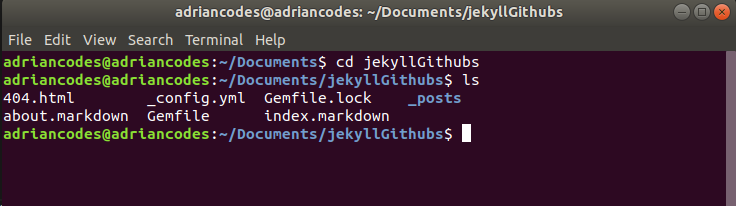
Now navigate to your blog folder, $ cd blogname.

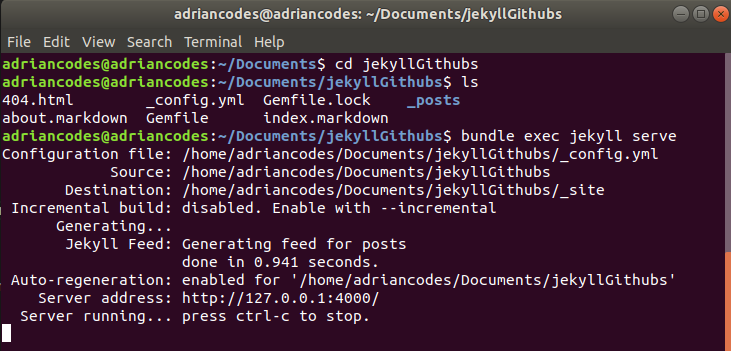
You can now take a look and see the initial folders and files for your blog, type ls
Now it's time to see you blog on the browser, type bundle exec jekyll serve
Go to your browser and type http://127.0.0.1:4000
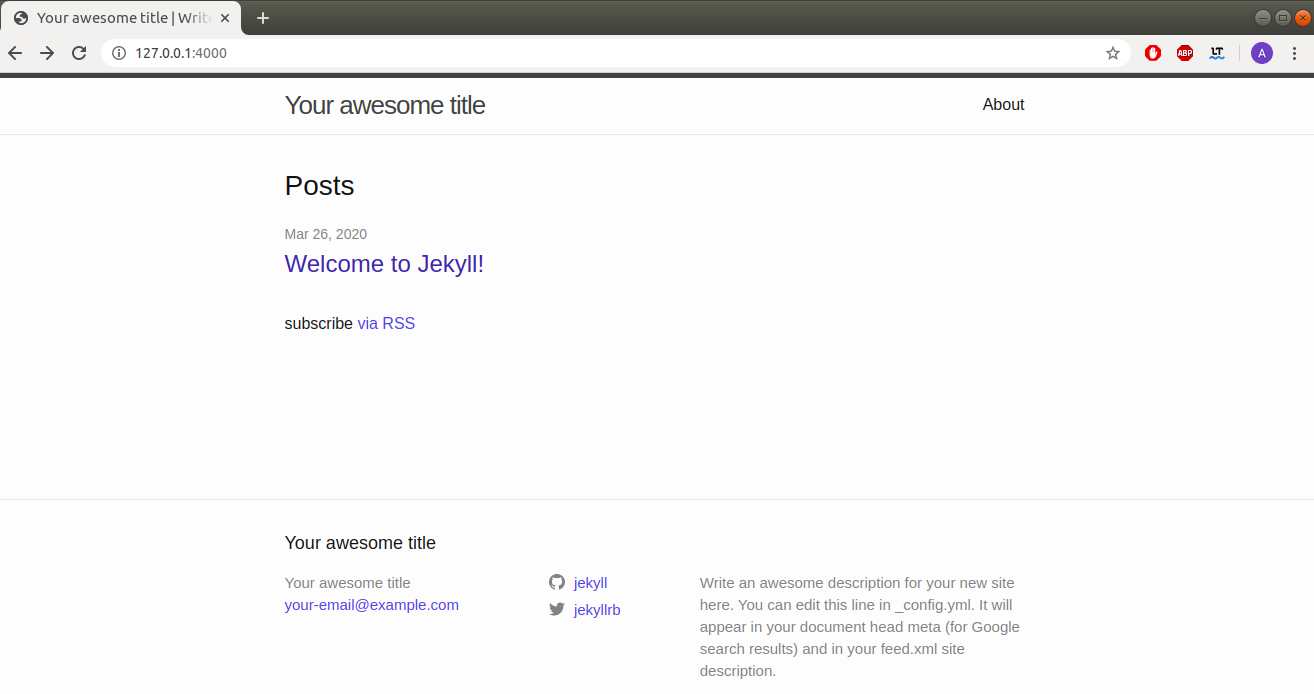
This is the template of a Jekyll Blog, now you can customize it and start creating content. Customization is up to how you want it to look, but I will at least show you the basics.
Add your own touch
Here we are going to be using Visual Studio Code to modify our blog files, you are going to be writing code now.
Open the project folder in Visual Studio Code, you can see the initial file structure:
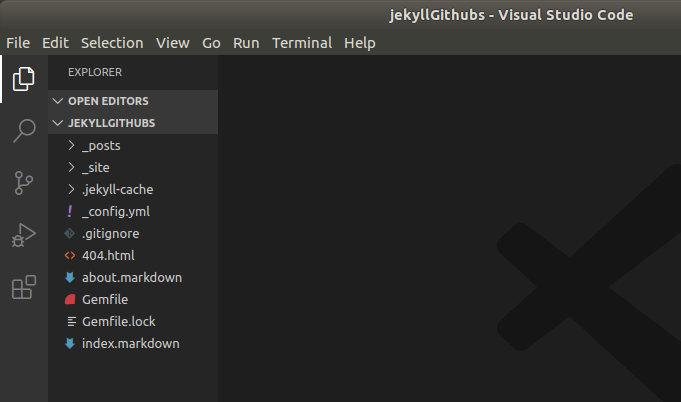
Let me quickly explain what these are, if you want to dig deeper into these, please read the Jekyll Documentation:
- Disregard any file or folder that begins with a ".".
- "_posts" is where you will be writing your blog content, this contains all of you blog posts.
- Ignore the "_site" folder, but know that this is where your website is generated.
- "_config.yml" contains your site's more important settings
- "Gemfile" is like a plugging library, component you need for your blog to do certain things.
- The "404.html", you don't need to touch right now, but I will make a guide on designing a 404 page.
- The "about" and "index" files, this is where you content displays in the website.
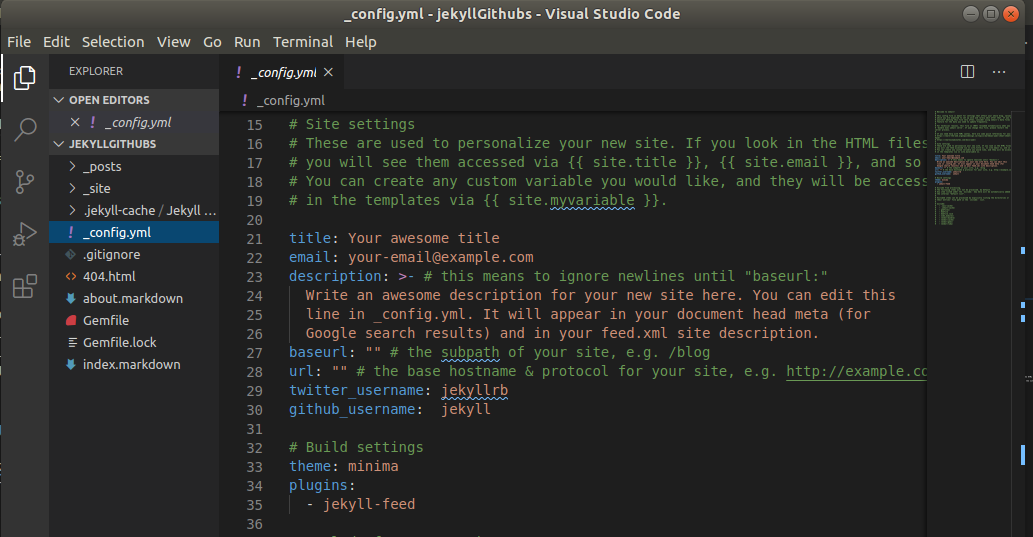
Now, open the "_config.yml" file and update the fields, if you do not know what something is, don't touch, it'll work just fine.
 **build settings**
* markdown: kramdown
* highlighter: rouge
* permalink: /blog/:year/:month/:day/:title
* paginate: (select a number)
* sass:
sass_dir: _sass
style: compressed
* comment out theme: minima
* plugins: [jekyll-paginate, jekyll-sitemap, jekyll-feed, jekyll-seo-tag]
7. Open the Gemfile and update the following:
* comment out gem "minima", "~> 4.0.0"
* update the jekyll_plugins with the following:
- "jekyll-sitemap"
- "jekyll-seo-tag"
- "jekyll-paginate"
8. Create a _data folder in the project's root folder
9. Create a settings.yml inside the _data folder
10. Create a _includes folder, it will contain HTML snippets of code like the navbar and the head of the HTML document.
11. Create a _layout folder, contains HTML layout that will be applied to the pages and the posts when the site is
created.
12. Create a _sass folder, and inside create a main.scss file
13. Create a assets folder, it will contain an images and a css folder
14. Navigate to the css folder and create a styles.scss file
15. Create a pages folder and inside create the following files:
- about.md
- blog.html
- contact.html
- feed.xml
- resume.html
* Muse site: http://demo.lion-coders.com/html/alpha/index-gradient.html
**build settings**
* markdown: kramdown
* highlighter: rouge
* permalink: /blog/:year/:month/:day/:title
* paginate: (select a number)
* sass:
sass_dir: _sass
style: compressed
* comment out theme: minima
* plugins: [jekyll-paginate, jekyll-sitemap, jekyll-feed, jekyll-seo-tag]
7. Open the Gemfile and update the following:
* comment out gem "minima", "~> 4.0.0"
* update the jekyll_plugins with the following:
- "jekyll-sitemap"
- "jekyll-seo-tag"
- "jekyll-paginate"
8. Create a _data folder in the project's root folder
9. Create a settings.yml inside the _data folder
10. Create a _includes folder, it will contain HTML snippets of code like the navbar and the head of the HTML document.
11. Create a _layout folder, contains HTML layout that will be applied to the pages and the posts when the site is
created.
12. Create a _sass folder, and inside create a main.scss file
13. Create a assets folder, it will contain an images and a css folder
14. Navigate to the css folder and create a styles.scss file
15. Create a pages folder and inside create the following files:
- about.md
- blog.html
- contact.html
- feed.xml
- resume.html
* Muse site: http://demo.lion-coders.com/html/alpha/index-gradient.html